
A classic grilled cheese sandwich is incredibly comforting and satisfying. The combination of melted cheese and crispy bread creates a symphony of flavors and textures that satisfies even the pickiest of eaters. In this guide, we’ll walk you through the steps to create a mouthwatering grilled cheese sandwich that will elevate your lunchtime to new heights. Get ready to unlock the secrets of achieving the perfect golden-brown crust and ooey-gooey center.
The perfect grilled cheese sandwich is a culinary masterpiece that embodies ultimate satisfaction. With meticulously toasted bread, expertly melted cheese, and a flawless balance of flavors, this heavenly creation is a delight for the senses. Experience the pinnacle of comfort and indulgence with every bite of this flawless rendition of the beloved classic.
Ingredients:
- 2 slices of your favorite bread (white, whole wheat, sourdough, etc.)
- 2-3 tablespoons of butter, softened
- 1-2 ounces of your preferred cheese (cheddar, Swiss, American, etc.)
Table of Contents
Step 1: Preparing the Bread
Start by spreading a thin layer of softened butter on one side of each bread slice. Make sure to cover the entire surface area as this will help achieve a crisp and golden exterior when grilled.
Step 2: Choosing the Cheese
Select your desired cheese(s) for the sandwich. Classic options like cheddar, Swiss, or American work wonderfully, but feel free to experiment with different cheese combinations to create unique flavors. Grate or slice the cheese to ensure even melting.
Step 3: Assembling the Sandwich
Place one slice of bread, buttered side down, on a preheated skillet or griddle over medium heat. Arrange the cheese evenly on top of the bread, making sure it covers the entire surface. Place the second slice of bread on top, buttered side up, creating a sandwich.
Step 4: Grilling the Sandwich
Carefully transfer the assembled sandwich onto the heated cooking surface. Allow it to cook for about 2-3 minutes or until the bottom slice of bread turns golden brown and crispy. Using a spatula, gently flip the sandwich to cook the other side.
Step 5: Achieving the Perfect Melting Point
Continue grilling the sandwich for another 2-3 minutes, or until the second side becomes golden brown and the cheese starts to melt. To achieve a perfectly melted center, you can cover the skillet with a lid or use a foil tent to trap the heat and encourage the cheese to melt thoroughly.
Step 6: Serve and Enjoy
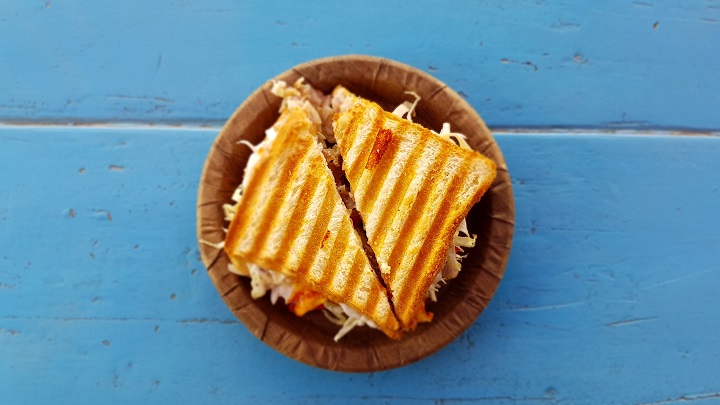
Once the bread is evenly toasted, and the cheese is melted to your liking, carefully transfer the grilled cheese sandwich onto a cutting board. Allow it to cool for a moment before cutting it diagonally or into desired portions. Serve alongside your favorite soup, or salad, or enjoy it on its own.
Conclusion:
Congratulations! You’ve mastered the art of making a delicious grilled cheese sandwich from scratch. With its simple ingredients and straightforward process, this timeless classic is perfect for a quick and satisfying meal.
Experiment with different bread types, cheeses, and add-ons like tomato slices, bacon, or herbs to customize your grilled cheese sandwich to suit your taste buds. Get creative, have fun, and savor every gooey, cheesy bite of this comforting treat.